Planning a Christening in the near future? Not sure where to start? Today, we’re re-posting a step by step guide for planning a Christening. You’ll be care-free on baby’s big day, knowing everything’s been taken care of.

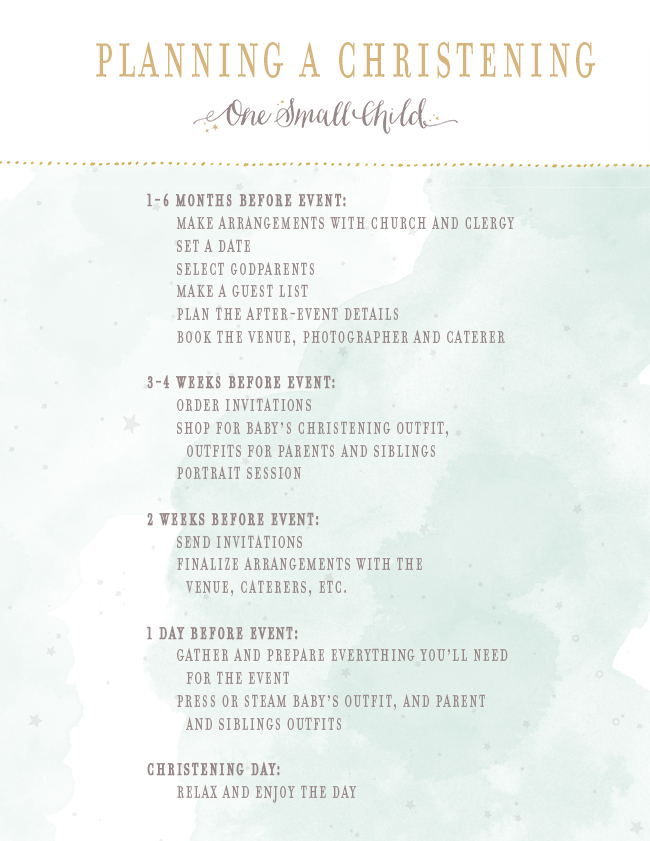
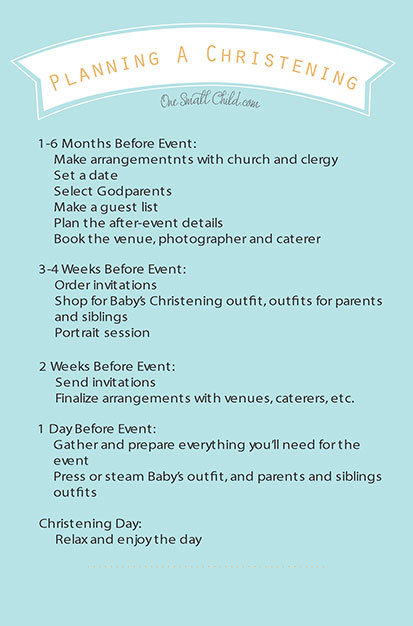
1-6 months before event:
-Contact the church or clergy member you wish to perform the ceremony. Determine what paperwork/preparation is required.
-Set a date.
-Decide who you want to be in attendance. Who do you choose as Godparents to watch over your child’s religious instruction? Do you want a large or small gathering? Determine how many guests you will have.
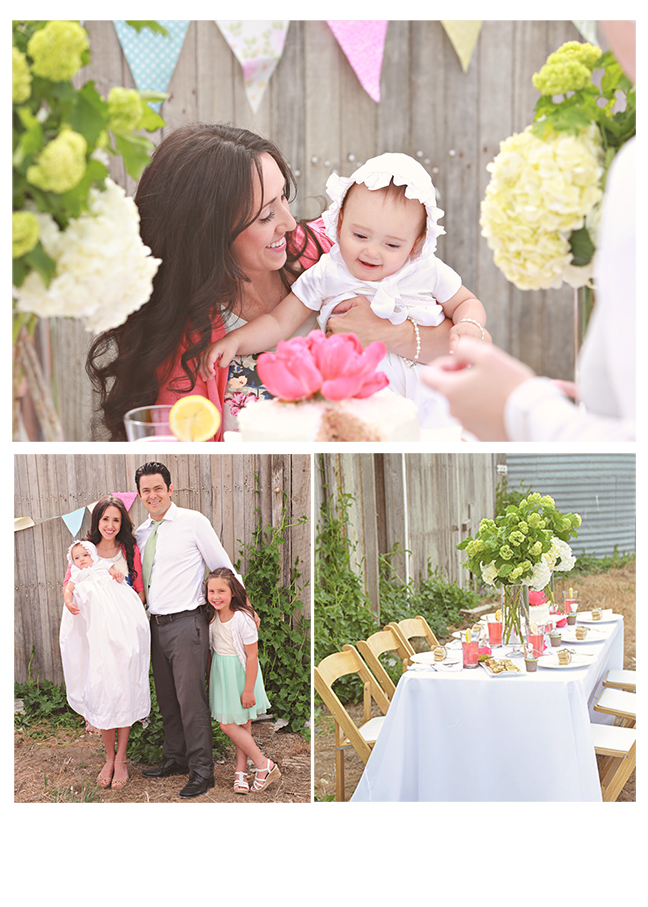
-Visualize what kind of event you want. This is the fun part! Will you have an all-inclusive at-home event, an intimate post-ceremony gathering at a restaurant, or a gala bash at a local reception venue? Whether simple or luxe, consider what you want when it comes to location, decor, food, favors, music, clothing, and photography. Depending on who you want to work with, you may need to book services many months in advance.
3-4 weeks before event:
-Order (or create) invitations.
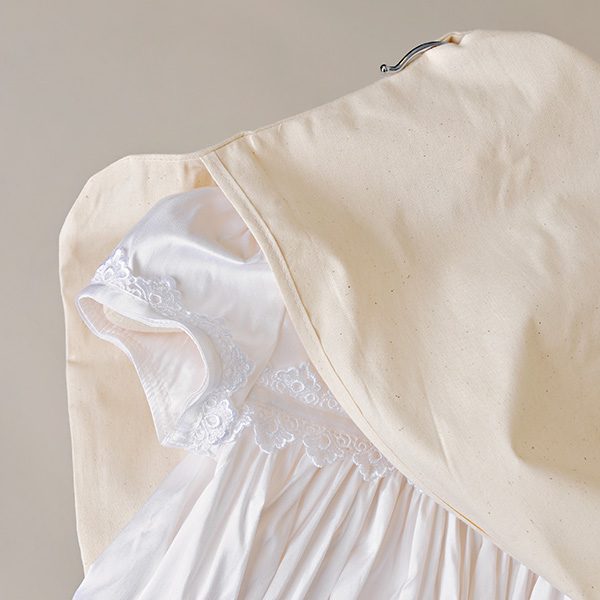
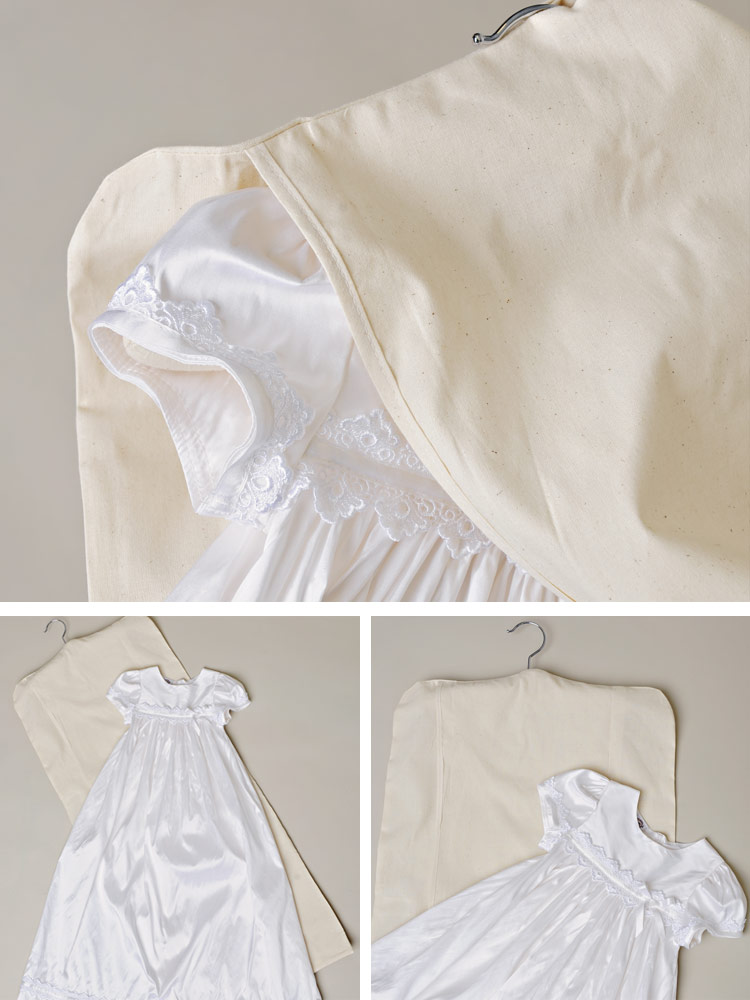
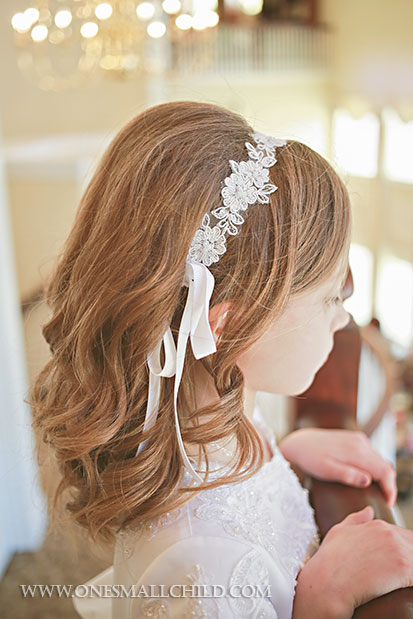
-Go shopping. Ooh! Another fun part! {wink} Find the perfect gown or outfit, or make arrangements for a custom-made or family heirloom garment for baby’s special day. Don’t forget to plan clothing for siblings and parents!
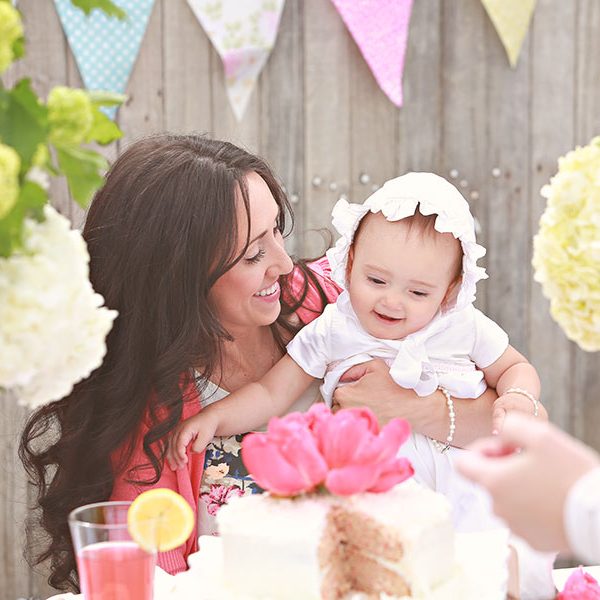
-Schedule a portrait session–trust me, you don’t want to not have photos of your baby in his/her precious outfit! Whether you go for a formal studio session or a natural-light gig, have a list of shots you want the photographer to capture. If possible, allow enough time to have framed prints to display at your event.
2 weeks before event:
-Tie up all loose ends…check in with venues, food providers, photographers, etc.
-Mail christening invitations or simply make phone calls to those with whom you want to share this experience. Be sure they know when and where to show up!
Day before event:
-Gather everything you’ll need for the big day: baby’s clothing and accessories, items to be used in the ceremony, cameras, decorations, etc. Pack the diaper bag. Here’s a great article on what to pack for a Christening.
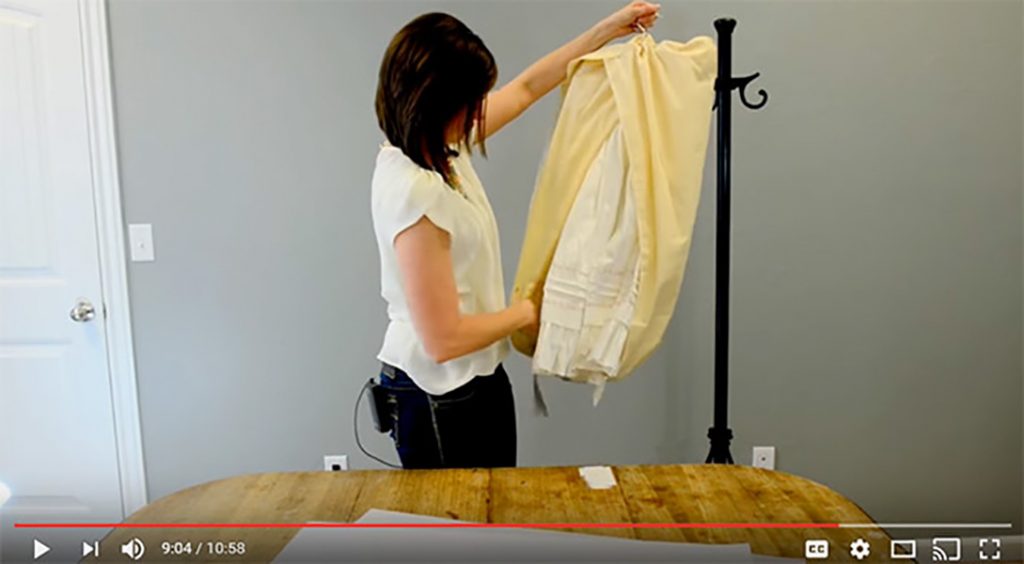
-Press or steam baby’s finery as well as your own outfit.
-Finish up any last-minute details.
Day of event:
-Take a deep breath and enjoy the companionship of your loved ones in celebration of this blessed day!