Unsure exactly how to measure your baby for a christening outfit? Here’s a quick demonstration. For more detailed instructions, view this post.


Unsure exactly how to measure your baby for a christening outfit? Here’s a quick demonstration. For more detailed instructions, view this post.

One of the most common questions we get is, “What size should I order for my baby?” It’s normal to feel uncertain when trying to gauge exactly what size to select when you don’t have the actual gown or outfit in your hands. Fortunately, we’ve been doing this a long time, and we have a lot of experience in helping you make your decision.
Our christening gowns and outfits are sized in a traditional infant size range: Newborn, 3 month, 6 month, 9 month, 12 month, 18 month, and 24 month. These size names can be misleading: it makes sense to think, “If my baby is 6 months old, he’s going to wear a size 6 month outfit.” However, every baby is unique. You may have a thin, petite 9 month-old who perfectly fits a size 6 month gown, or a chubby little cherub who’s rocking size 12 month at the ripe old age of 6 months.
For this reason we always encourage our clients to measure their babies and refer to the size charts listed on the ordering page for each of our christening styles.
Here’s what you’ll need to gather to measure your baby:
-the baby (you want to be sure he/she is unclothed or close to it…measuring over a snug-fitting undershirt is fine; over a heavy top is not)
-a blanket or other comfortable surface on which to work (be sure baby won’t roll off an elevated surface)
-a soft measuring tape (if you don’t have a flexible tape, you can use a piece of string, and compare it to a ruler or construction measuring tape)
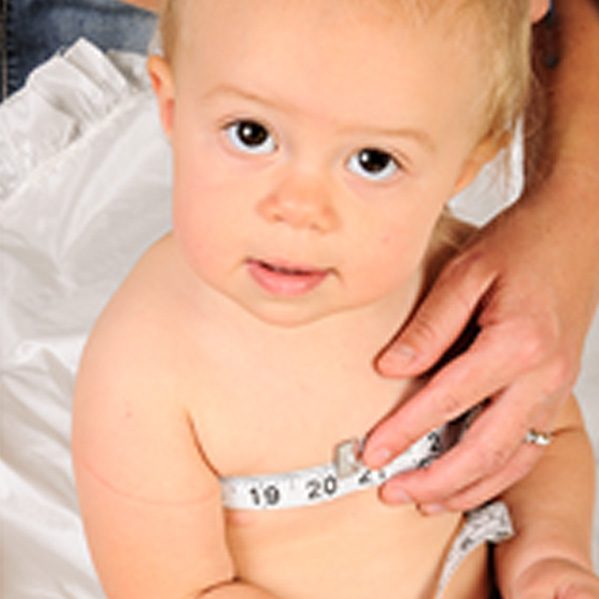
For both christening gowns and outfits, you’ll need a chest measurement. Wrap the tape just below baby’s underarms, and pull it snug (not too tight). Make sure the measurement is as accurate as possible.
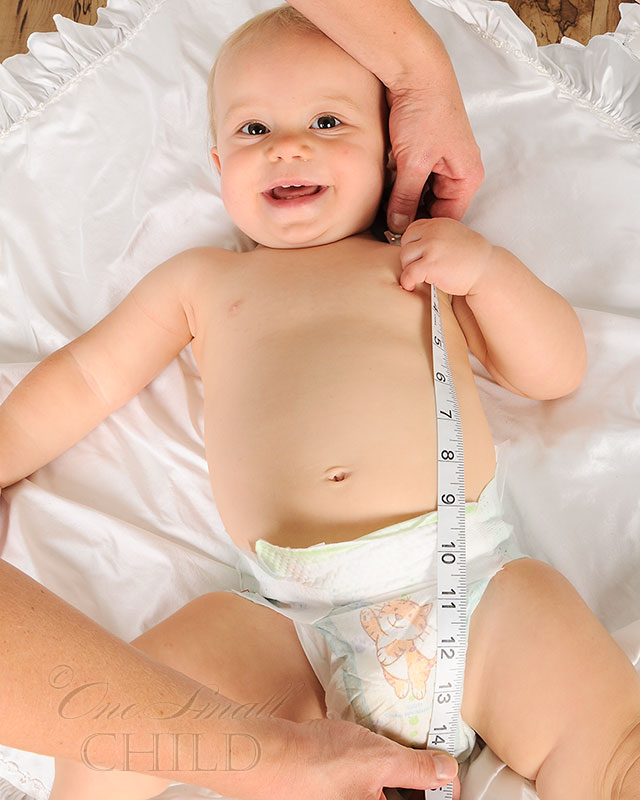
For christening rompers, you’ll need both the chest measurement and the torso measurement demonstrated below. The torso measurement is the most important metric to guarantee a correct fit. Place the end of the tape at the point where his neck meets his shoulder, and measure down to the bottom of his diaper.
It’s a simple process, but can get complicated pretty quick with a squirmy child…it’s okay if you need to take the measurement a couple times to verify accuracy.
Once you’ve got your numbers, check them against the size chart for the particular style(s) you’re interested in. All size charts are found on a tab in the lower left-hand corner of the product ordering page. Many of our size charts list a weight range as well as the measurements–this is for reference only, if in doubt, go with the measurements.
Once you’ve tackled this job, you’re well on your way to acquiring the perfect outfit for Baby’s special day!


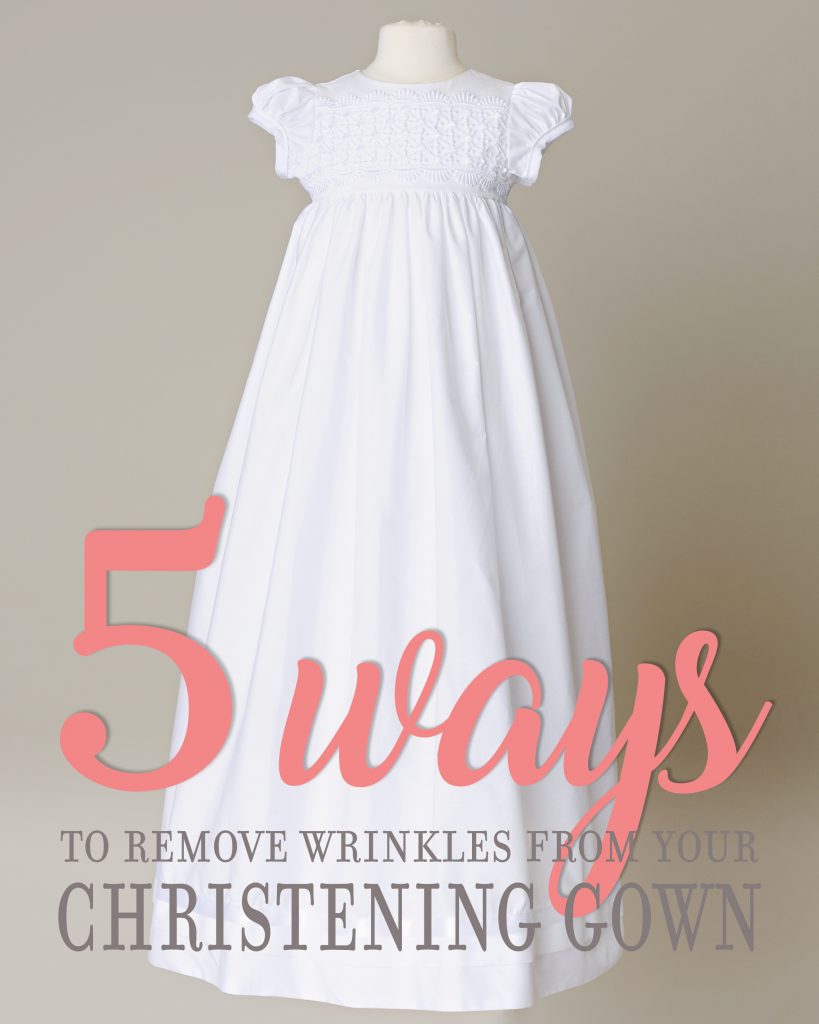
Whether you’ve purchased a new christening gown or plan to use a family heirloom, chances are there will be at least a few wrinkles to deal with prior to the baby’s big day. It seems like a straightforward proposition, really, to get those wrinkles out, but when dealing with garments of great value and low replaceability factor, it’s a good idea to approach the situation with as much information as possible. Here’s a bag of tricks to get you going:
1-Bathroom Steam: It might seem too easy to be true, but this is a fabulous way to remove relatively minor wrinkles on dressy fabrics. It works especially well on garments made of satin, organza & tulle. Simply hang your gown on a clean hook or rod in the bathroom, turn on a hot shower, close the door & let it sit for 15-20 minutes. If mild wrinkles persist, you can rub them gently with a damp cloth, give them a little tug & allow the gown to steam for a few minutes more.
2-Dryer: Lightly spritz your tiny blessing outfit with water & toss it in a medium-heat dryer for a few minutes. Immediately remove your garment & give it a good shake when time’s up. Works well on cotton blends, satin, organza & tulle.
3-Iron: Household irons work best on light-to-mid-weight fabrics, pleats, and large flat surfaces. If your outfit is made of 100% cotton or features sharp pleated details, ironing is your best bet to conquer the evil wrinkle monster. A few tidbits to keep in mind:
4-Steamer: If you have access, a personal or professional-grade steamer will remove wrinkles from silk, satin & organza. Add distilled water to the reservoir, turn it on & let the steam build-up, check to be sure the wand isn’t spitting water (water spots = boo), then gently run the wand over and beneath the fabric. When running the wand beneath the fabric, be careful to avoid burning yourself…that steam is hot!
5-Dry Cleaner: If you have time and access, it’s not a bad idea to have your garment professionally pressed prior to your event. Be sure to ask your service provider if they are experienced in handling the delicate materials used in your christening outfit.
And there you have it: everything you need to know to have your baby’s christening gown or christening outfit in tip-top shape for that once-in-a-lifetime day!