
We created this sweet bunting for our lookbook, and thought we’d share the how-to with you!
Materials needed:
- 1 roll jute twine
- An extra pair of hands (for braiding the twine)
- 1/3 yard pieces of coordinating fabrics ~ as many as you want, we used 5 prints for this bunting
- Cutting mat + ruler & rotary cutter -or- good fabric scissors
- Disappearing ink marker
- Hot glue gun / glue
Steps:
1-Determine how long you want your bunting to be.
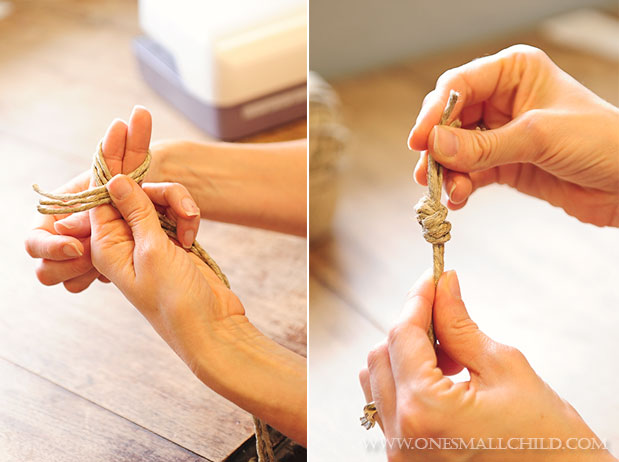
2-Cut 3 lengths of twine, about 12″ longer than you want the finished product to be.
3-Tie the 3 pieces of twine together at one end.
4-Loosely braid twine…you’ll want one person to hold the end, & one to braid. It’s a little tricky, you have to braid for a bit & unravel the loose ends of the twine as you work. When twine is all braided, tie ends of twine together.
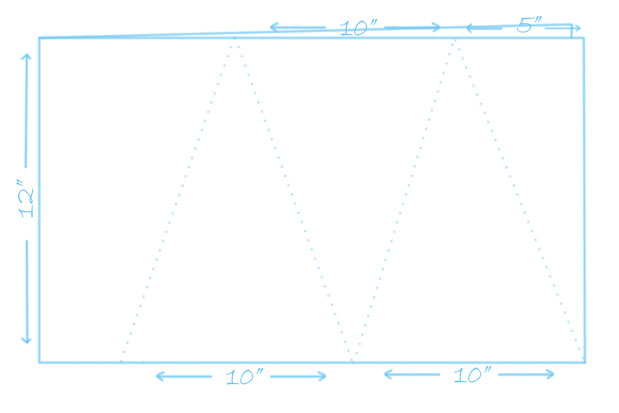
6-Cut your fabric into triangles. Here’s how I did it:
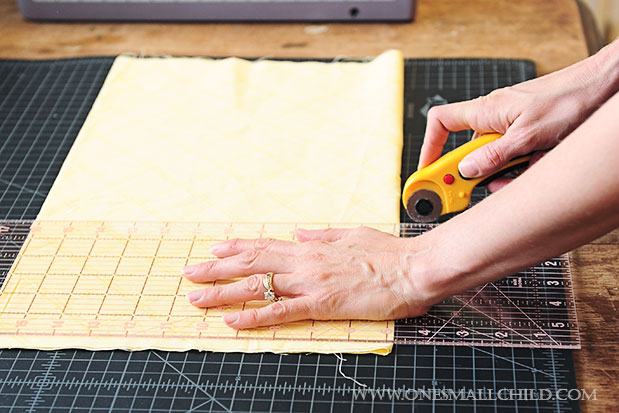
*Fold your fabric, lay it down on your cutting mat & square up the cut edge. Then cut it into a 12″ strip.
*At the top of the strip, measure 5″ from the selvage edge & make a mark. Make another mark 10″ from the first, and so on.
*On the bottom edge of the strip, measure 10″ from the selvage edge & make a mark. Make another mark 10″ from the first, and so on.
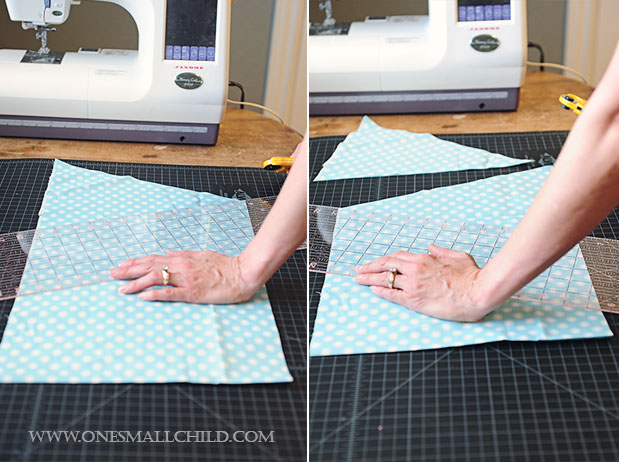
*Lay your ruler down and cut the triangles from the marks you made, as shown in the diagram above & the photo below.
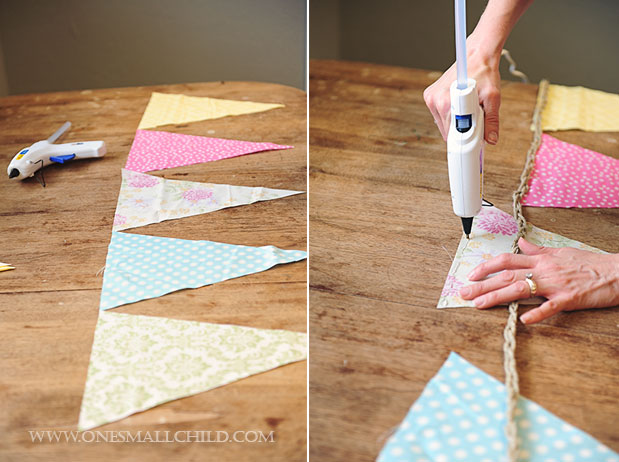
7-Determine how you want to lay out your fabric triangles, glue the tops to the twine. Be careful to not burn yourself!
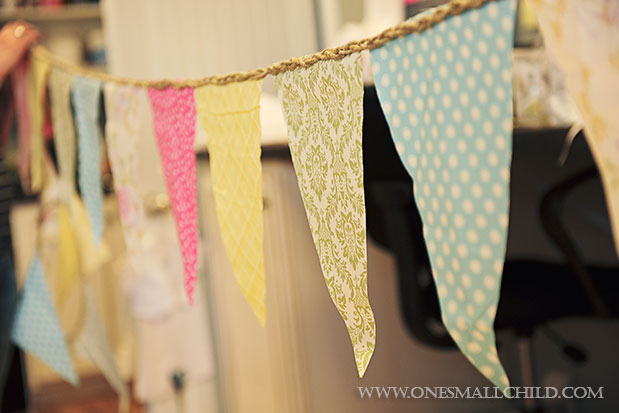
8-Enjoy your finished bunting!



One comment